- VE
Cardamom Cherry Pie

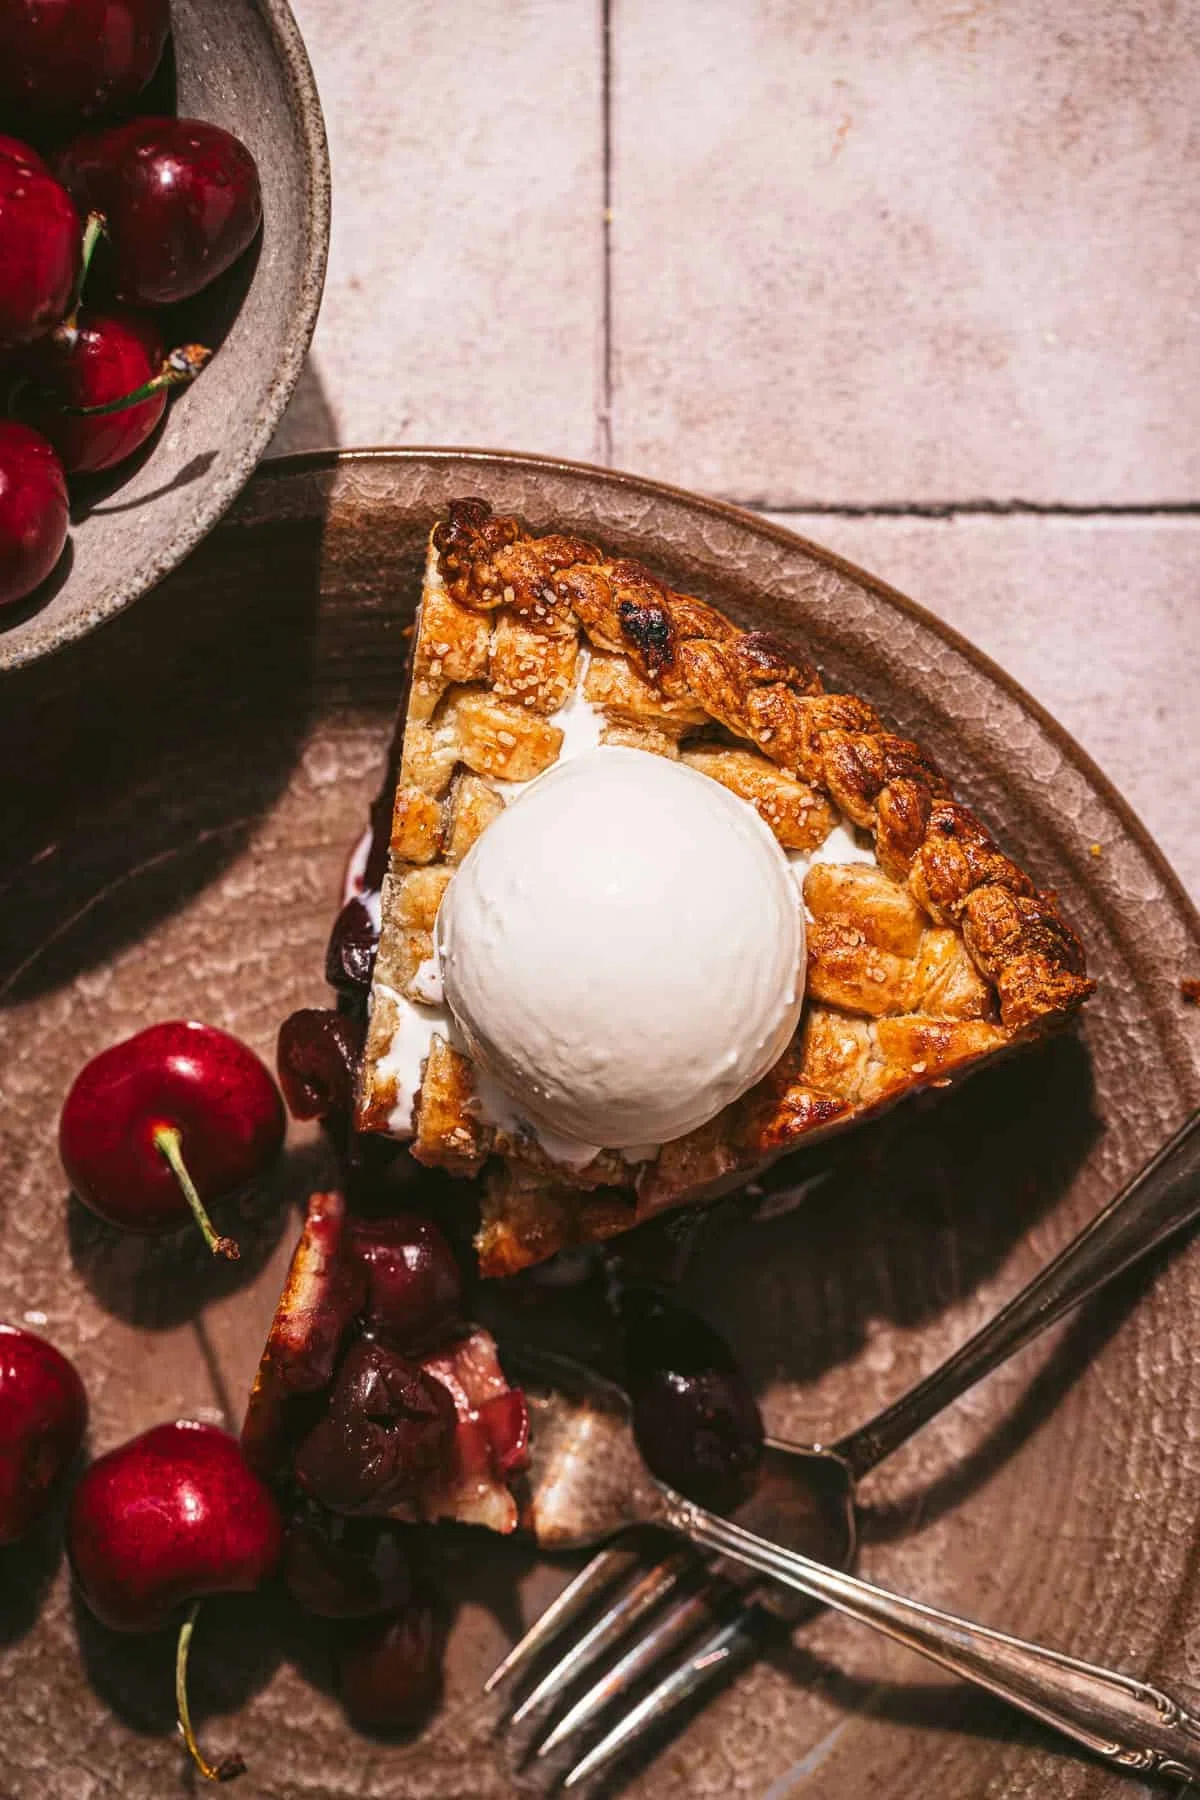
This homemade cardamom cherry pie is made simple with frozen cherries and extra delicious with an ultra flaky all butter pie crust. The warm & earthy notes of cardamom complement the sweet cherries perfectly! Serve each slice warm with a generous scoop of vanilla ice cream for the ultimate summer pie.
Ingredients
All-Butter Pie Crust
Cardamom Cherry Pie Filling
Instructions
- Step 1
In a medium bowl combine the flour and salt.
- Step 2
Cut the cold butter into cubes and toss in the flour. Using your fingers, cut the butter into the dry ingredients until quarter sized pieces are left.
- Step 3
Add the vodka (or a few tablespoons of water), then toss with a spoon to combine. Continue adding very small amounts of ice water until the dough can hold together, but is not overly wet. Wrap the dough tightly in plastic wrap, then chill for one hour.
- Step 4
On a lightly floured surface, roll the dough out into a rough rectangle, fold in half, then again into quarters. Wrap the dough in plastic wrap and chill for another 30 minutes.
- Step 5
Roll the dough out again into a rough rectangle and repeat the folding process. Shape the dough into a disk, wrap tightly in plastic wrap, and chill overnight.
- Step 6
In a medium pot, combine the frozen cherries, sugars, cardamom, and salt. Place over medium heat, stirring occasionally for about 10 minutes or until the cherries start to soften and release their juices.
- Step 7
Add the cornstarch and cook for another 10 minutes until the cherries have softened and the juices have thickened. Remove the pot from heat and stir in the vanilla.
- Step 8
Spread the cherry filling out onto a small baking sheet and place in the fridge for a few minutes to cool. Alternatively, pour the cherry filling into an airtight container and chill in the fridge overnight.
- Step 9
Place a large baking sheet on the bottom rack of the oven, and preheat it to 425 degrees F.
- Step 10
Weigh out 430g (about ⅓) of the pie dough, placing the bigger half back in the fridge.
- Step 11
On a lightly floured surface, roll out the smaller piece into a circle about ⅛" in thickness and large enough to fit a 9" pie pan with some overhang.
- Step 12
Carefully transfer the dough to the pie dish and coax it up against the sides. Place in the fridge while the lattice pieces are made.
- Step 13
Roll out the remaining dough to about ⅛" in thickness and at least 12" in length on one side.
- Step 14
Cut out 12"x ½" strips and place on a small baking sheet. Chill the lattice strips in the fridge while the pie is assembled.
- Step 15
Take the pie dish out of the fridge and pour in the cherry pie filling, leaving behind most of the juices.
- Step 16
To make the lattice, arrange the vertical strips on the pie. With the vertical strips grouped into two, pull back every other "group" to the middle of the pie. Lay one strip down horizontally, then bring the grouped vertical strips back down. Repeat this until the entire lattice is complete.
- Step 17
Trim the excess pie dough to the very edge of the pie dish and squish together the edges so the bottom and the top dough adhere to each other. With the excess pie dough, you can make braids and line them along the edge of the pie, if desired.
- Step 18
Chill the assembled pie in the fridge for at least 15 minutes.
- Step 19
Brush an egg wash all over the pie, and sprinkle turbinado sugar on top.
- Step 20
Place the pie on top of the hot baking sheet and bake for about 45 minutes, or until the crust is deeply golden. Tent with foil towards the end if needed.
- Step 21
Allow the pie to cool for at least two hours or overnight. Serve with vanilla ice cream!

@sloanes-table
Hi! I'm Sloane, welcome to Sloane’s Table! I am a Dartmouth College alumna, professional baker, recipe developer, and food photographer. Here, you will find tried & true bakery-worthy recipes ranging from simple sweets to technical pastries. Whether you are looking to challenge yourself and improve your baking skills or just want an easy, trust-worthy recipe, you're in the right place.
Per serving
Be the first to review this recipe and earn a 20% Bonus
Level up & unlock free Premium by reviewing recipes!
