- VE
Cinnamon Raisin Zucchini Coffee Cake

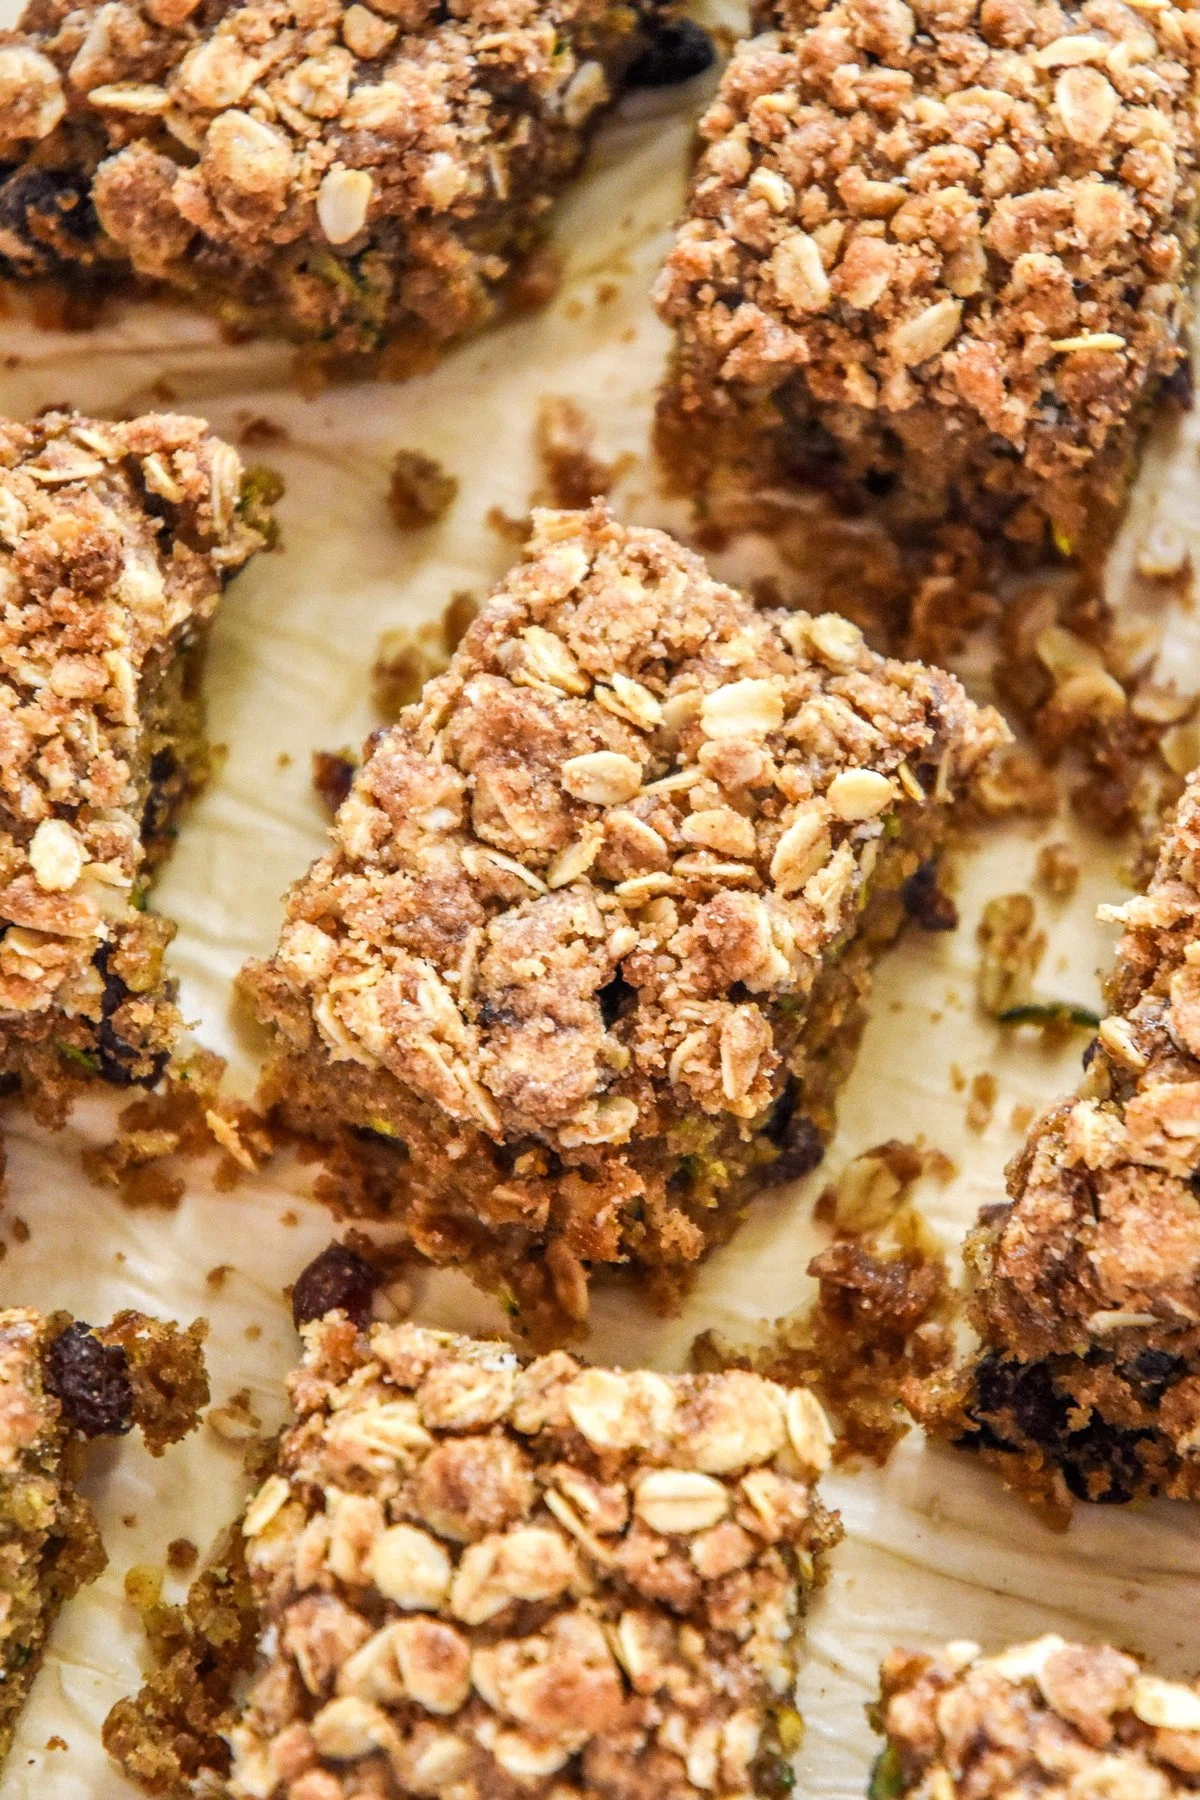
This Cinnamon Raisin Zucchini Coffee Cake is easy to make, seriously delicious, and not-too-sweet! It’s a make-ahead friendly breakfast or snack cake made with rolled oats, raisins, a whole zucchini, and a cinnamon sugar crumb topping!
Ingredients
Coffee Cake
Crumb Topping
Instructions
- Step 1
Preheat the oven to 350F. Line an 8×8 inch baking pan with parchment paper for easy release and cleanup.
- Step 2
In a medium bowl, add the dry ingredients: flour, rolled oats, ground cinnamon, baking powder, baking soda, salt and ground nutmeg. Stir until it’s well combined, then set aside.
- Step 3
In a large bowl, add the wet ingredients: eggs, coconut oil, brown sugar, milk, and vanilla. Whisk well until the mixture is completely combined, then whisk in the shredded zucchini as well.
- Step 4
Next, add the dry ingredients to the wet ingredients and stir until completely combined with no spots of flour remaining. Fold in the raisins. Pour the batter into the prepared pan and use the back of spatula to push it into the corners and flatten to an even level.
- Step 5
Use the medium bowl that previously contained the dry ingredients for the crumb topping. Add the flour, rolled oats, brown sugar, granulated sugar, and salt, then stir with a fork to mix. Pour the melted butter into the bowl and mix until it forms wet buttery clumps. Pour the crumb topping on top of the batter. Use a spoon or fork to spread it to the edges and flatten into even layer. Use the back of the utensil to gently push the topping into the batter.
- Step 6
Bake in the preheated 350F oven for 40-45 minutes, or until a toothpick comes out with just a couple crumbs (no wet batter). The top should be starting to brown around the edges as well. Cool on a baking rack for at least 10 minutes before removing from the pan. Let the coffee cake cool to room temperature before cutting.
- Step 7
This coffee cake tastes best served at room temperature. Store in an airtight container with lid on the counter and enjoy within 5 days. To freeze, wrap individual pieces tightly in foil and then store in a freezer safe storage bag such as a Stasher brand silicone bag. Thaw on the counter for 1 hour before enjoying.
Tips & Tricks

@project-meal-plan
Hi, I’m Danielle! My passion for meal planning came from a desire to save money and reduce food waste, and I want to share it with you! Besides cooking and photography, I absolutely love my cats & chicken (yes, just one!), growing food in my yard, and hot sandwiches!
Per serving
Be the first to review this recipe and earn a 20% Bonus
Level up & unlock free Premium by reviewing recipes!
